


DIY ARIANA GRANDE SCREAM QUEENS CHOKER

I’m not one to religiously follow fashion trends but I am extra excited that chokers are making a come back this year. I read that it was a “thing” back in the 90s, which honestly I wasn’t aware of. But I remember keeping a choker that came with the aristocrat costume our teacher forced us to wear for a school event. I wore that choker till its clasp tore off from its satin ribbon just ‘cos it made me feel more mature haha!
Nowadays, every “it girl” celeb is wearing one — Ariana Grande, Kendall Jenner, Gigi Hadid. I tried looking for similar chokers at the mall but couldn’t find one that fit me well so I went ahead and DIY’d them. They’re inexpensive and super easy to make!

RHINESTONE CHOKER
ARIANA GRANDE INSPIRED
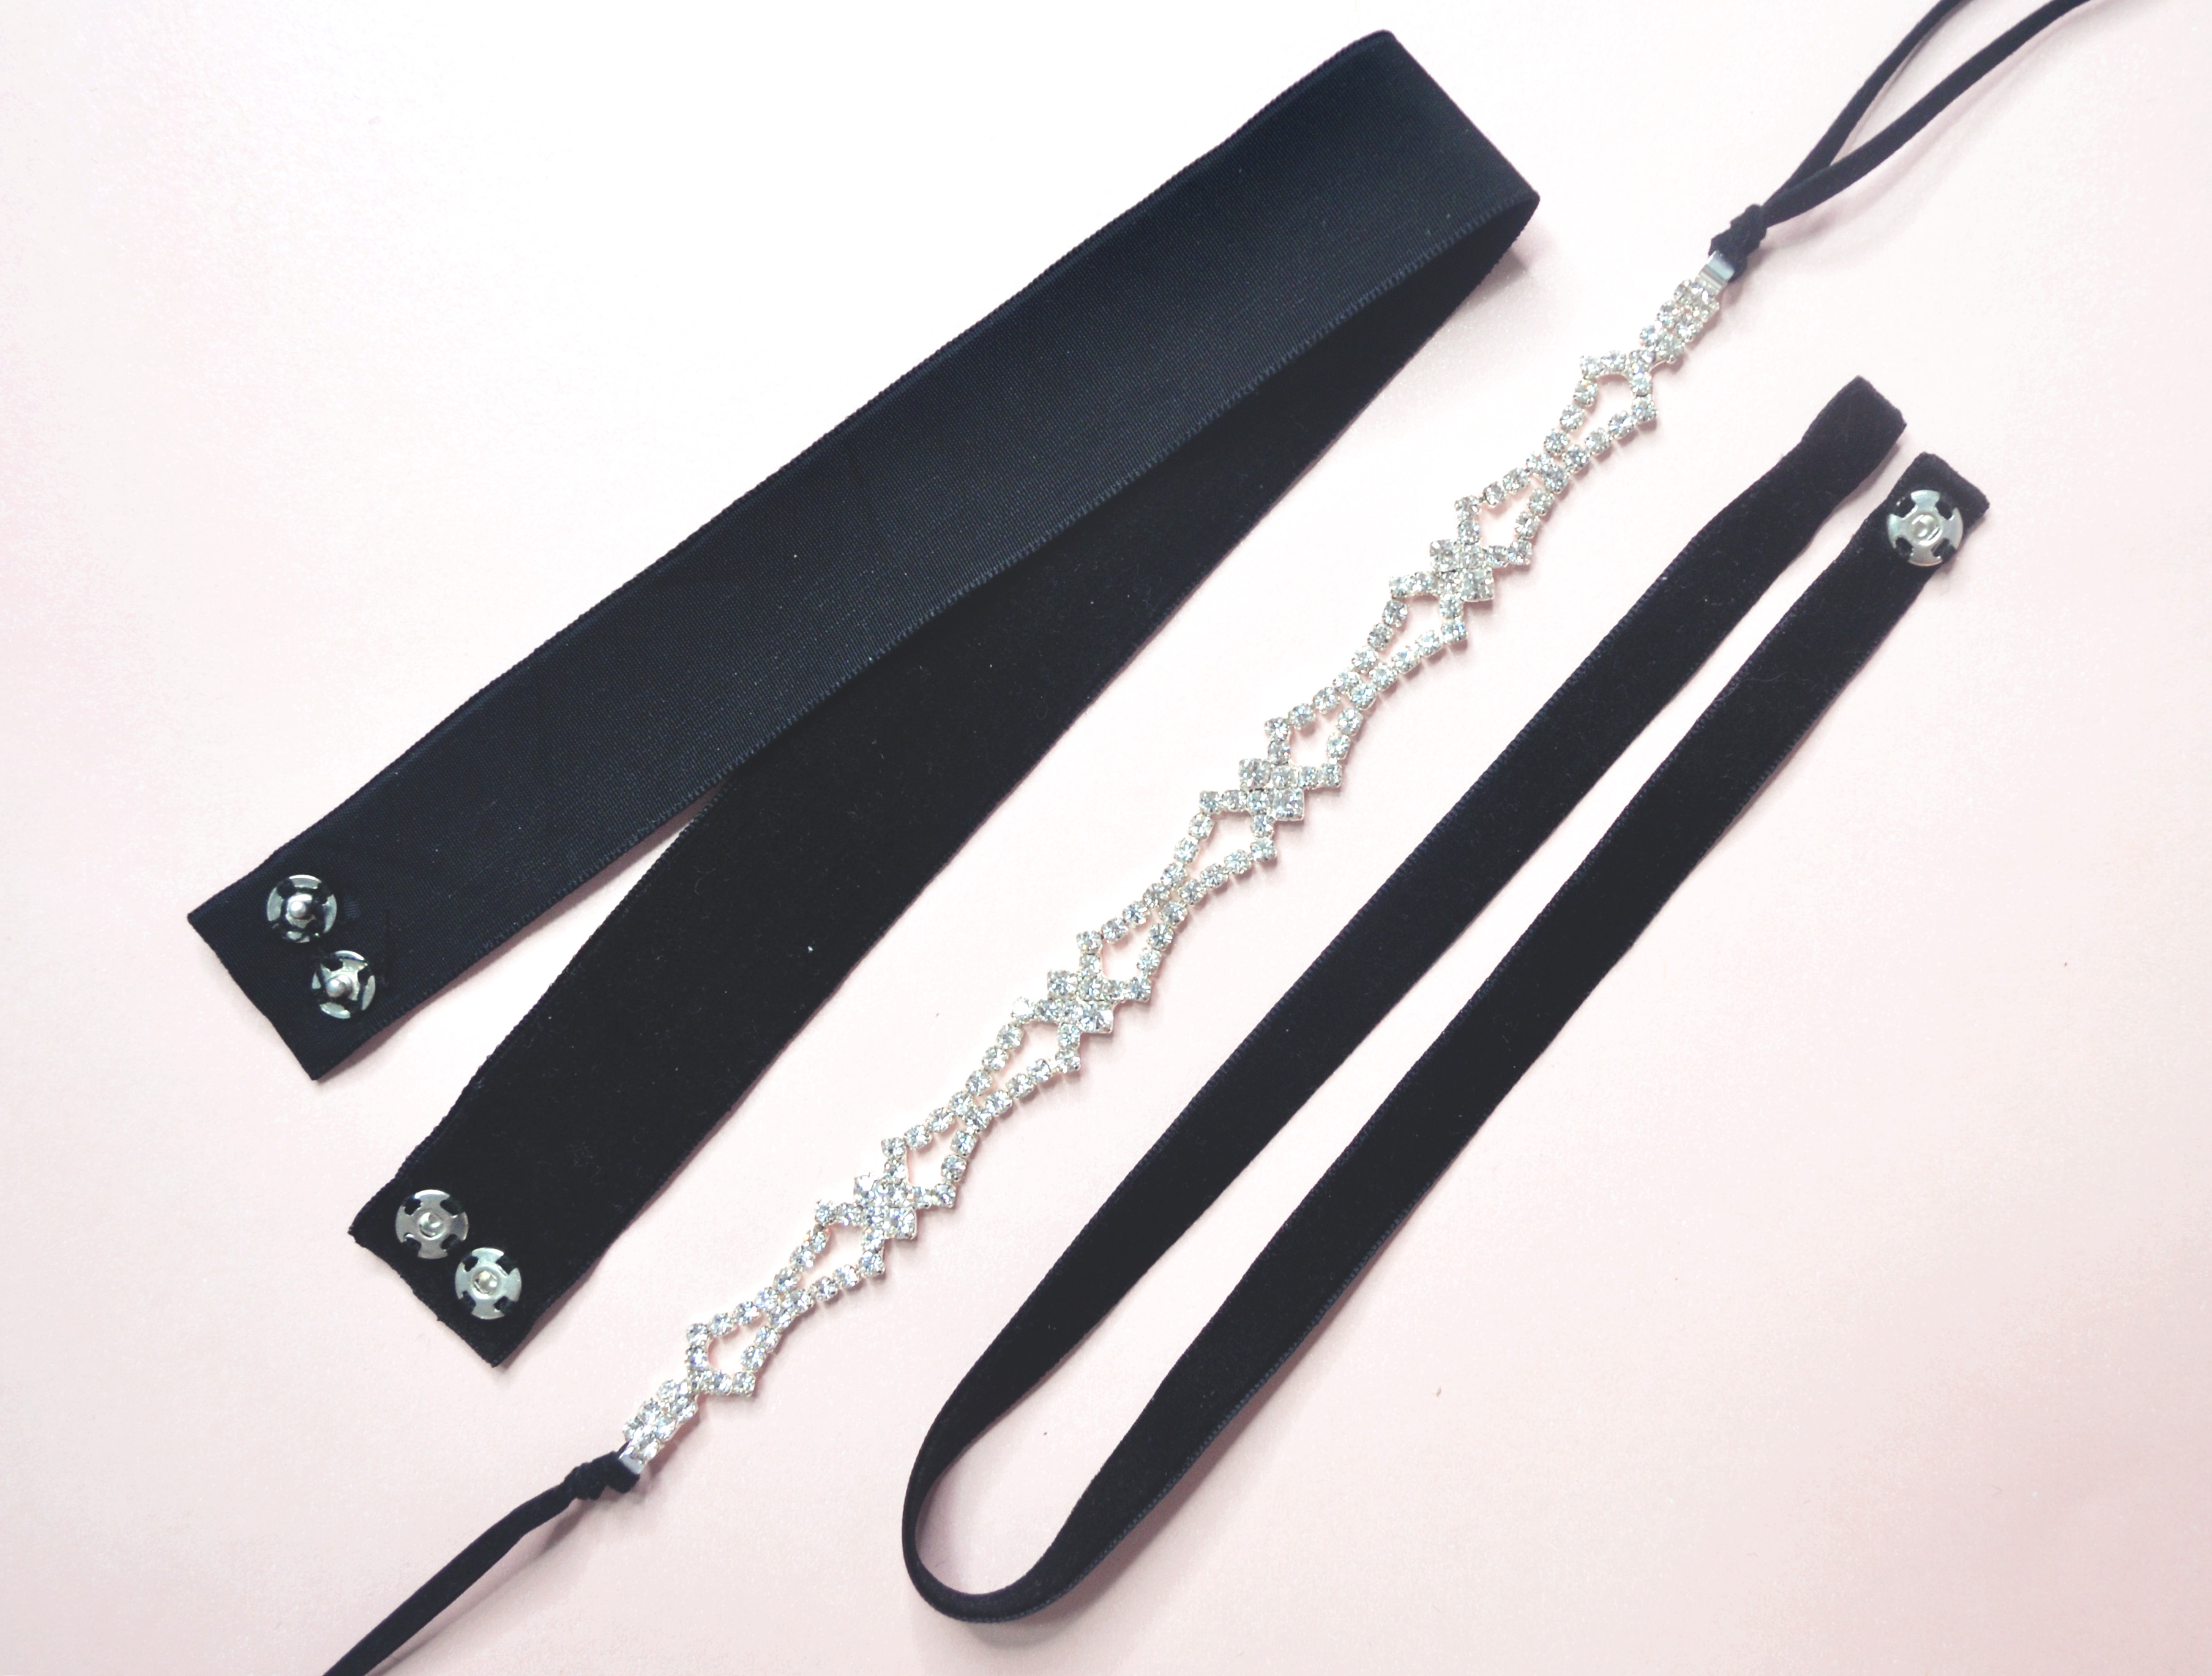
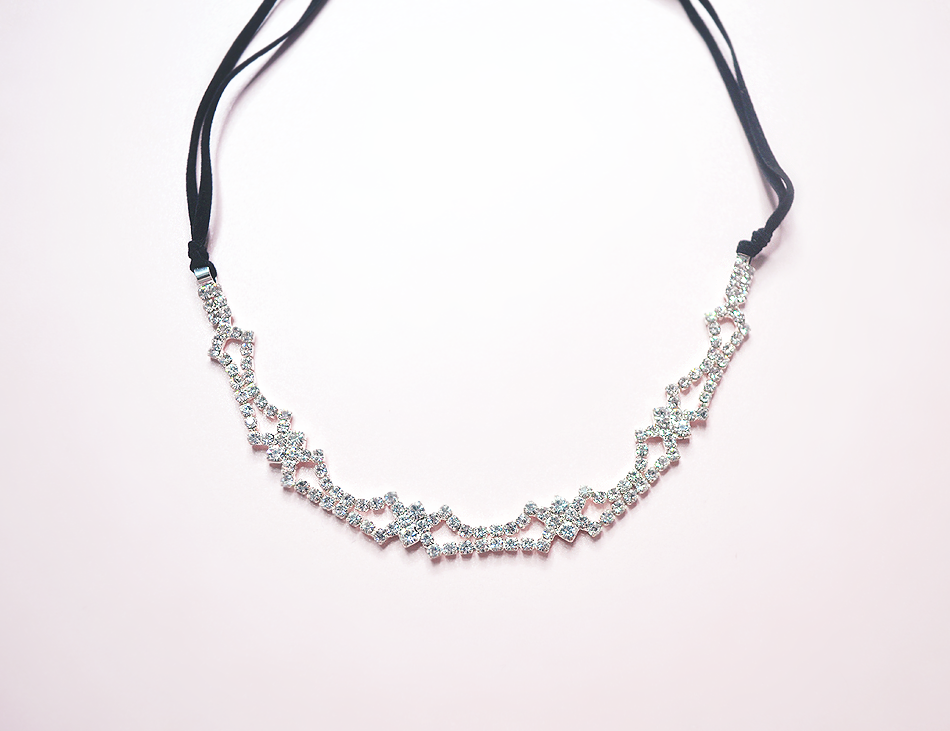
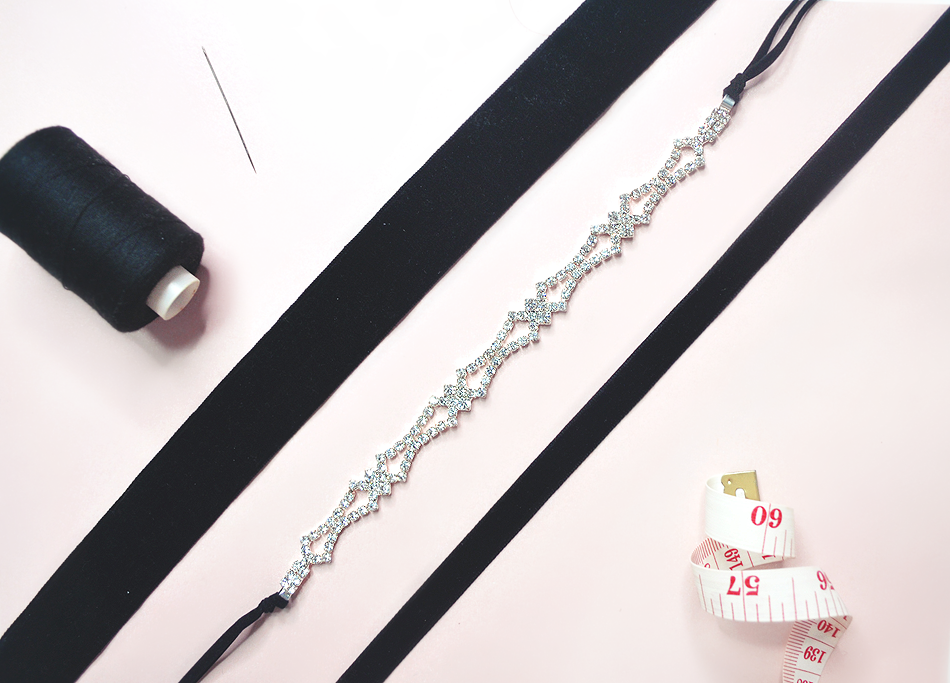
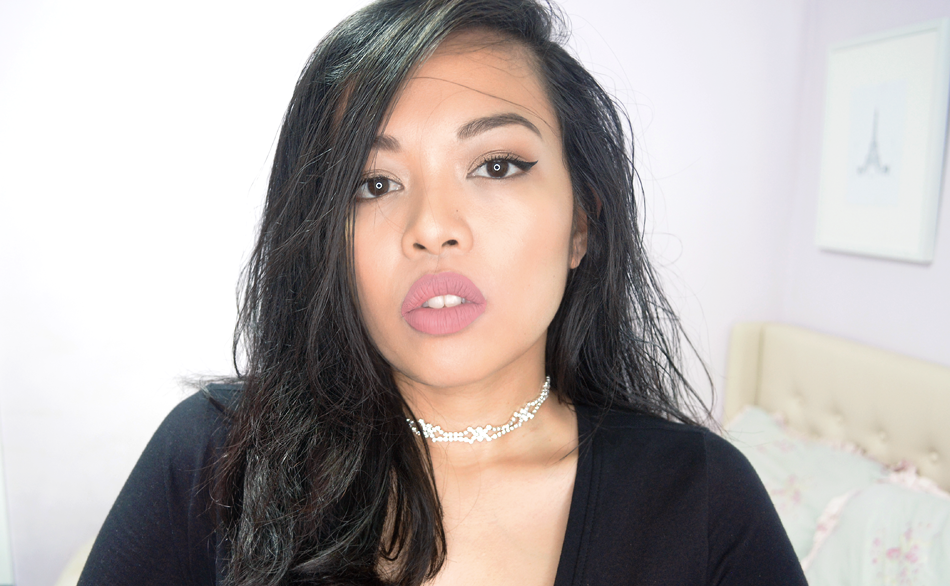
First off is the Ariana Grande Scream Queen rhinestone choker. She played Chanel #2 who, BTW, died very epicly on the show. I wanted her rhinestone choker very badly so I made one out of a rhinestone headband I found in Rustans (around P250 / $5). If you gave into the Gossip Girl headband craze back then, you probably have a rhinestone headband sitting at home that you can instantly turn into a choker necklace. All you have to do is cut off the elastic and replace it with a thin suede ribbon (I got mine from Carolinas). This will let you hold and adjust the tightness of your choker around your neck.
VELVET CHOKER
KENDALL JENNER INSPIRED
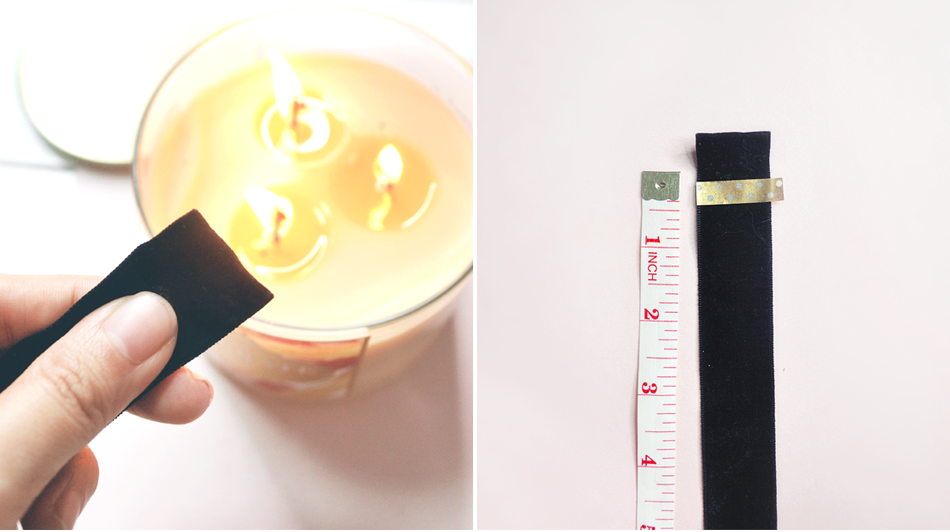
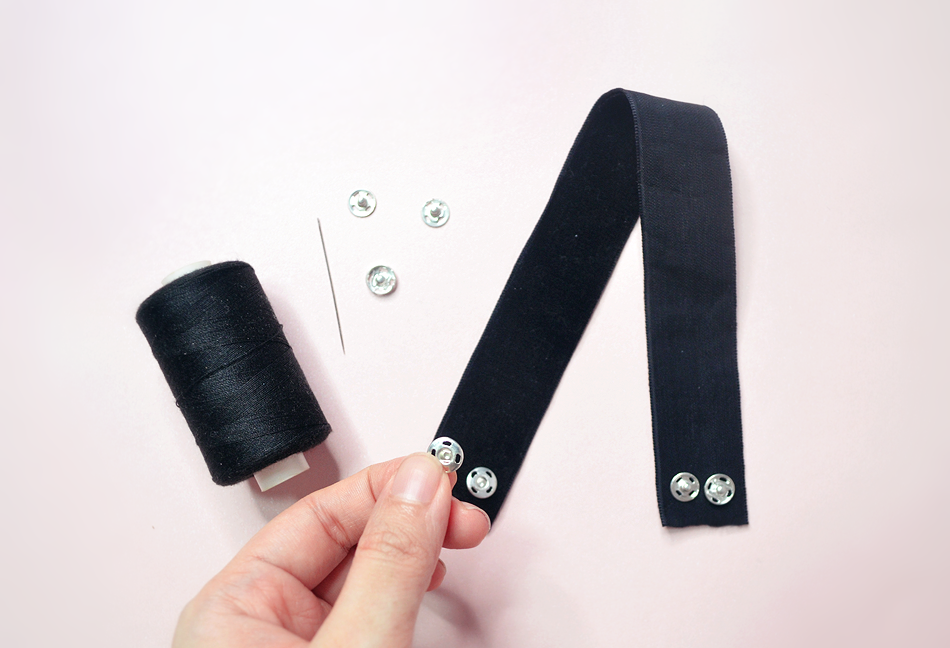
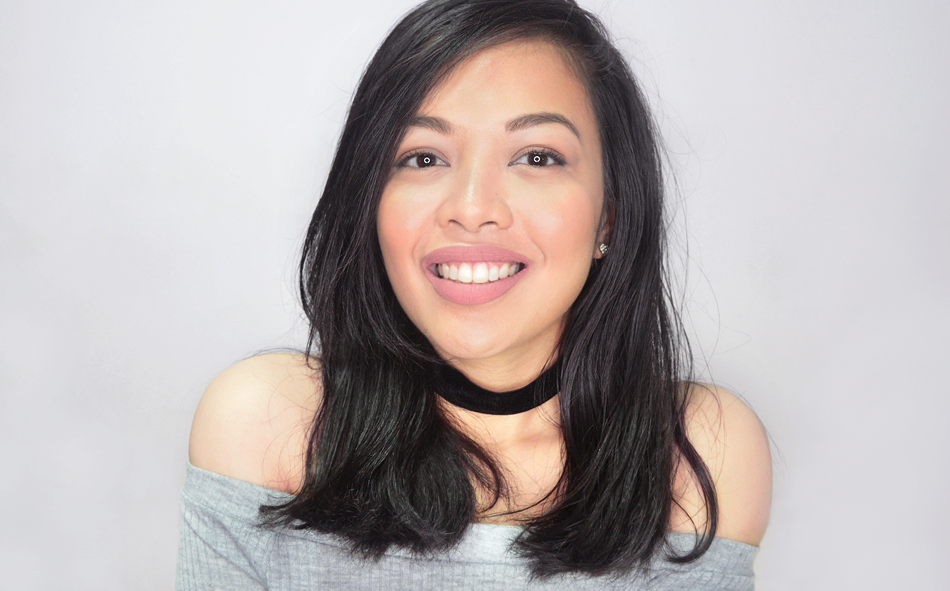
Another trendy choker that’s easy to make is the plain velvet choker, which is seen worn mostly by the Kardashian-Jenner clan. I made it in two sizes — an inch width bow, and half inch width bow. All you have to do is measure how long you want the ribbon to be, based on your neck’s circumference, and cut it. Then you can seal off the edges of the ribbon by running it quickly through a flame (be extra careful not to burn anything). This should prevent the ribbon from fraying.
The only tricky part here is when you mark the spot where you want your silver buttons to be sewn. Make sure that it’s not too loose but also make enough space for your neck to move comfortably. I used Washi tape but its easier to mark it with sewing crayon. One side of the silver button should be sewn on the ribbon’s velvet side and the other pair sewn on the back side of the velvet ribbon. Sew the buttons on your ribbon in place and that’s it. You can also customize it more by adding a mini pendant to it.
What do you think? Would you wear a choker?
25 Comments
I’ve been thinking about getting chokers like these! I don’t know but I think it kinda compliments my neck (? what in the world am I saying? xD ). I do have a piece with a heart stone that I use almost as a choker that I truly love. But I want something like this as well :3
Your DIYs are always amazing <3!!
it looks good on girls with the right amt of neck (this convo is starting to sound strange lol) but yes i think itll look god on you ^^
I’ve been wanting to get a choker. Great DIY. They look great on you!
ahintofbeauty.blogspot.com/
thank you lupe <3
I haven’t tried using any chokers (boo me) cause i think hindi siya bagay sakin :( Haha! But hey, i might try doing this, especially Velvet choker. It’s cute and very basic, i think bagay siya ipair to any ootd piece. :)
gellie tag me sapic when you do ootd with a choker :)
I really like the plain one. Imma do one once I find materials! Also, your lippie is bomb! x
thanks shaunne! i think i was wearing sleek matte lippie and a kylie jenner lippie on these pics :)
I’ve always stayed away from chokers, even before when they were on trend. I find it uncomfortable and a bit ticklish. hehe… I rarely wear a necklace, but when I do it always has a long chain.
Random Beauty by Hollie
hahaha malakas ang kiliti <3
YAASS GIRL! You know that chokers are my thing, ahaha. I saw a pearl one that she wore with a similar design as the rhinestone, and I wanted it.
You look beautiful and your make up is always on point. I swear you keep getting prettier with each post. Lab you:)
♥ Charms | à la Charms
my fashion blogger inspiration <3 i like the f21 choker you posted on snapchat, im still looking for something like it. tenchu tenchu ^^
Gorgeous. I like that chokers have come back ha. I actually still have some gorgeous (some subtle some very bold) chokers lying around.. but I bought one again that I had as a kid back in the 90s/00s lol. I love the rhinestone choker on you! Absolutely gorgeous :D
thank youuu, i like how we both had chokers back in the 90s hahaha
Hello, Shayne! <3
It's so nice to found a Filipino blog! Nakakatuwa so I followed you on Bloglovin, and I hope we keep in touch :) Anyway, recently I've been obsessed with chokers. To be honest, I still love wearing them! Haha almost every time na aalis yata ako. Thanks for sharing this! I love Ari too!!! ♡ Hope to hear from you soon. :)
Love, Airish
Gorgeous Glance | New style post!
http://www.airishabella.blogspot.com
yay nice to meet you airish :) i like making friends here so i hope we do keep in touch too, you seem like a super nice friend!
It was nice to meet you too!! We’ll keep in touch, and that’s for sure :)
Ayy ang ganda. You can easily be a DIY queen sis! I’d wear a choker kung nababagay sa akin, haha. But mostly now, I’m just home or when I go out, I go rugged so no chance for now. LOL
hihi thank you sis! pang dinner date mo nalang with your lovey!
Supper cute Shayne! love the sparkly choker it looks really good :)
http://steph-g.blogspot.com/
thanks steph <3
OMG wow! they look so pretty Shayne!!!! as in wow!!!! they look so good! and hahahahahaha naaalala ko ulit how Ariana died in Scream Queens hahahaha my sis and I cant stop laughing when we watched it hahaha now natatawa ako sobra naaalala ko lol p.s sis you should make some and sell them online! coz they look so good! parang talbog pa ga ng gawa mo yung mga nakikita ko all over IG hehe
love lots,
Tin
mypoeticisolation.blogspot.com
ay may nagbbenta na ng chokers sa ig? gusto ko nga sana magka accessorie shop ulit ^^ omg best scream queens moment hahahaha!
Haven’t tried wearing chokers though I really want too. Hahaha. I’ll give this DIY a good try. Thanks Miss Shayne ♥
Wannderzel by Hazel
The plain one would be nice for me and the sparkly one for my bff. I need to show this DIY to my her because she’s a choker addict.
BTW, I love Scream Queens. I can’t wait for Season 2. Yaaaaay!!! ❤❤